Developed by Microsoft, Visual Studio Code is a free and open-source, cross-platform IDE or code editor that enables developers to develop applications and write code using a myriad of programming languages such as C, C++, Python, Go and Java to mention a few.
In this guide, we will walk you through the installation of the Visual Studio Code on Linux. To be more specific, you will learn how to install the Visual Studio Code on both Debian-based and RedHat-based Linux distributions.
On this page:
How to Install Visual Studio Code on Debian, Ubuntu and Linux Mint
The most preferred method of installing Visual Code Studio on Debian based systems is by enabling the VS code repository and installing the Visual Studio Code package using the apt package manager.
$ sudo apt update
Once updated, proceed and install dependencies required by executing.
$ sudo apt install software-properties-common apt-transport-https
Next, using the wget command, download the repository and import Microsoft’s GPG key as shown:
$ wget -qO- https://packages.microsoft.com/keys/microsoft.asc | gpg --dearmor > packages.microsoft.gpg
$ sudo install -o root -g root -m 644 packages.microsoft.gpg /etc/apt/trusted.gpg.d/
$ sudo sh -c 'echo "deb [arch=amd64 signed-by=/etc/apt/trusted.gpg.d/packages.microsoft.gpg] https://packages.microsoft.com/repos/vscode stable main" > /etc/apt/sources.list.d/vscode.list'
Once you’ve enabled the repository, update the system and install Visual Studio Code by running the command:
$ sudo apt update
$ sudo apt install code
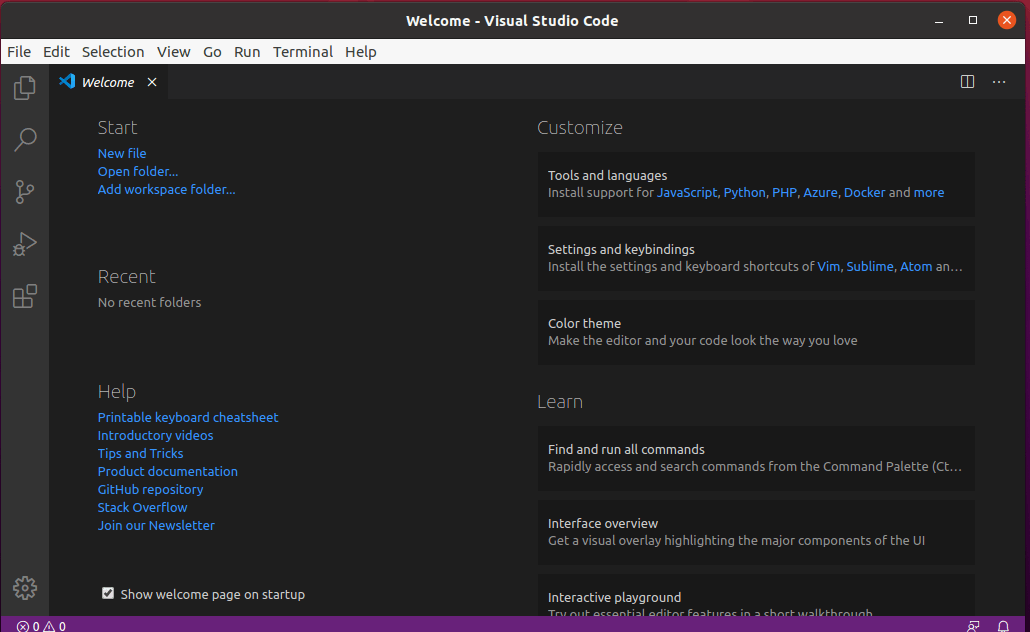
Due to its size, the installation takes approximately 5 minutes. Once installed, use the application manager to search Visual Code Studio and launch it as shown.
How to Install Visual Studio Code on CentOS, RHEL, and Fedora
The procedure of installing Visual Studio Code on RedHat based distributions is pretty much like Ubuntu. Right off the bat, launch your terminal and update your system:
$ sudo dnf update
Next, import Microsoft’s GPG key using the rpm command below:
$ sudo rpm --import https://packages.microsoft.com/keys/microsoft.asc
With Microsoft’s GPG key in place, proceed and create the repository file for Visual Studio Code:
$ sudo vim /etc/yum.repos.d/vstudio_code.repo
Next, append the code below and save the file:
[code]
name=Visual Studio Code
baseurl=https://packages.microsoft.com/yumrepos/vscode
enabled=1
gpgcheck=1
gpgkey=https://packages.microsoft.com/keys/microsoft.asc
To install Visual Studio code, run the command:
$ sudo dnf install code
To use it, use the Application manager to search the Visual Studio Code and launch it, you will get a window as shown below.
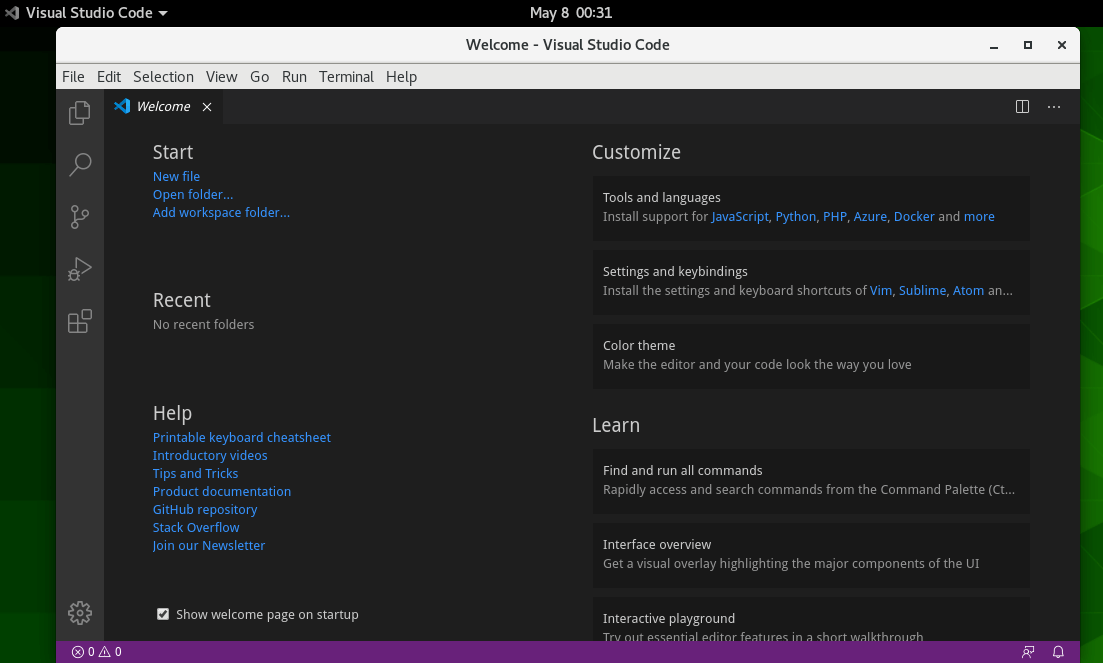
You can now proceed and start writing your code and installing your preferred extensions.
Conclusion
Visual Studio Code is a powerful and feature-rich code editor that allows you to develop applications in a diverse array of programming languages. It’s especially popular with Python and C programmers. In this topic, we walked you through the installation of the Visual Studio Code on Linux.


Spot on! I just flipped an aging Microsoft Surface 4 Pro to Ubuntu with Visual Studio Code as my first objective. Your install notes worked perfectly. Thanks for the help! ;-)